Tuesday, May 20, 2014

Watercolor Week- Day 2

Hello and welcome back to Watercolor Week! If you missed Day One, you can find it HERE. Here is today's card...

I used Distress Inks again to create this watercolor background. I used Squeezed Lemonade and Barn Door inks together to create this yummy peach color. After the piece was dry, I went in with some Barn Door distress ink with a blending tool and a stencil to add a small section of pattern. 
I raised the heart image I cut from the background by layering many pieces of yellow cardstock that I cut from the same Hero Arts heart die. I traced around the heart image with a white gel pen to give it some definition.
I also found a fun technique by accident! I heat embossed the sentiment with clear embossing powder thinking I grabbed white embossing powder. You couldn't see it well and I thought I ruined the card. Then I heat embossed the sentiment again right on top of the clear embossed sentiment but this time using white embossing powder. I positioned the sentiment off slightly from the one beneath. It's hard to tell in the photo but it gives a great shadow. A happy accident!

To finish off the card I adhered it to a grey card base and added a strip of yellow cardstock along with some awesome sequins. Thanks for stopping by! I'll be back tomorrow with another share...

Monday, May 19, 2014

Watercolor Week- Day One

Hello. I've been posting many cards using watercolor lately because I took the Watercolor for Card Makers Class from Online Card Classes. I'm still going through some of the lessons and have many cards piling up so I thought it would be fun to do a watercolor week on my blog. So every day this week you will find a new card featuring watercolor techniques.

For today's card, I was inspired to stamp with watercolor. I also wanted to challenge myself and make a masculine card, so I went with a blue, orange, and yellow color scheme...

To create my pattern, I started with a chevron stamp from Studio Calico and inked it with Spiced Marmalade Distress Ink and then spritzed it with water before stamping on watercolor cardstock. I repeated this step with Squeezed Lemonade and Peacock Feathers Distress Ink. I love the "messy", watercolor look it creates...
To finish off the card, I stamped the happy birthday sentiment from Studio Calico in black ink and then mounted it on a black card base. Super simple.

I hope I've inspired you to create some Watercolor Stamping. Have a great Monday and see you tomorrow!

Thursday, May 15, 2014

Acetate Challenge...

I am so glad that I decided to create an acetate challenge over on the Little Tangles Blog. I love the fun and unexpected look of acetate, but it sometimes can be tricky to work with. However, when creating this project, I stumbled upon a great tip that may work for some of you that are intimated by acetate (like me).

Here is my card for the challenge...

I decided to use acetate as my card base. My favorite acetate cards are THESE from Hero. They are high quality and are easy to work with. I stamped my new favorite greeting on the front of the acetate card using white Staz-On ink. Well, I must have had that ink pad for quite some time because the ink was kind of dull. So I restamped it. It looked okay but you still couldn't see it well. 

Here's the tip...If you're looking for that bright white look on acetate, use the staz-on as something for a White Gel Pen to grip to. I simply traced the image with my white pen and the only way for it to not smear on the acetate is to have the staz-on ink as a base. This would work for black as well. Here's a closer look (You can see the Staz-On ink. It almost serves as a shadow, a cool effect) 
To finish the card, I created a watercolor panel to go behind (on the inside of the card). I punched a 3x4 rectangle with THIS punch out of THIS paper and used Wild Honey, Peacock Feathers, and Chipped Sapphire Distress Inks with water. I flicked some pearlized water on top to give spots of shine. Adhering this is the tricky part because of the clear card. I used glossy accents in tiny dots behind the words of the sentiment. It took some time but you don't see any adhesive that way.

I also added some black and white twine to the side of the card to appear as it is floating. I really like how it turned out! I hope you can enter your acetate card HERE for a chance to win a Neat and Tangled Stamp Set of your choice.

Thanks for stopping by!

Tuesday, May 13, 2014

Stretching Two Cards from One...

Hello and welcome. I hope your week is going well. As promised, I wanted to share the card I created from the left over die cut word from THIS card. I LOVE getting more mileage out of one card. Why not make two cards instead of one when you've already done most of the work?!
This card was inspired by Julie Ebersole on Day 4 of Watercolor for Card Makers Class. 

I started to create this card by masking the center of some Watercolor Cardstock with a heart punched from Masking Paper. Then I stamped different size circles (from a "vintage" Hero Arts set) using Peacock Feathers, Squeezed Lemonade, and Mowed Lawn Distress Inks. I love these inks because they activate with water just like watercolors. I took a paintbrush with water and "colored"each circle to get it to spread out and achieve a watercolor look.

Once dry, I removed the heart mask and adhered the left over "love you" die cut word, after cutting the word out of white cardstock several times to get a raised embellishment look. I finished it off with glossy accents and adhered it to a green card base.

I also punched out some hearts out of my practice paper to include on the inside of the card for a finishing touch...

That's all I got for today. Thanks for stopping by!

Sunday, May 11, 2014

Getting the kids involved...

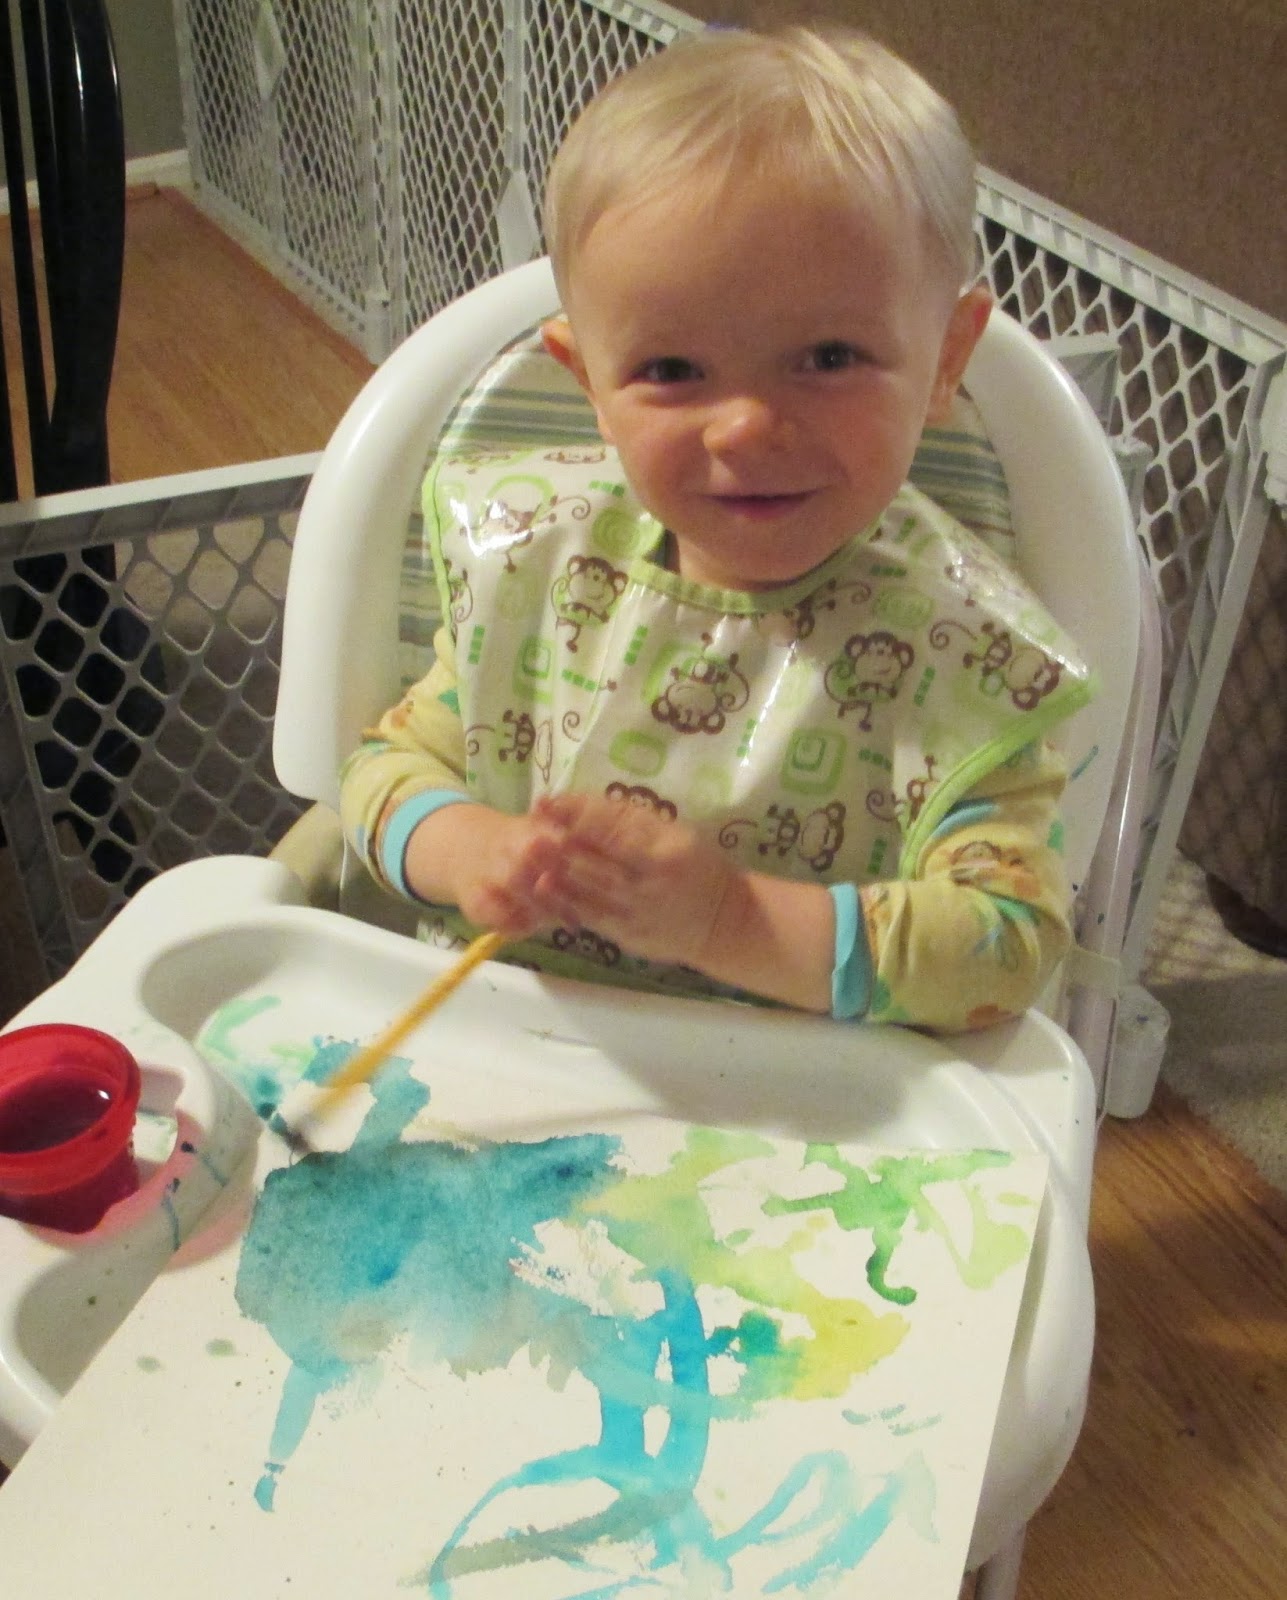
Happy Mother's Day! I have a quick share today that shows how you can get your kids involved in card making. You've probably noticed from my last few projects that I've been loving to watercolor on my cards. So, I thought it would be fun to get Aiden involved to make my mom's card for Mother's Day this year. He had so much fun...
I broke out his Crayola Jumbo Watercolor Set that he received in his Easter Basket and let him paint several pieces of Watercolor Paper. I took one of the pieces and punched out six hearts to create a Mother's Day Card...
I finished it off with some dry embossing to the background and a sentiment from Hero Arts. A simple and fun project for both mom and son!

I hope this inspires you to get your kids involved in your crafting. Have a great Mother's Day!

Thursday, May 8, 2014

Watercolor for Cardmakers- Day One

Hello! Today I have a card share just for fun. I recently signed up for the Watercolor for Card Makers Class over at Online Card Classes and as usual, it is full of inspiration. Today's card was inspired by the amazing Laura Bassen on the first day of classes. Here is my card...

In class, Laura showed us how to create a watercolor background using an acrylic block, some distress inks, and water. I wanted to do a bright rainbow pattern so I used Barn Door, Wild Honey, Mowed Lawn, and Peacock Feathers Distress Ink. 

I wanted to keep the rest of the card super simple to keep focus on the fun background so I inlaid the love you die-cut into the background piece and added a few black hearts punched from cardstock. I also added a little shimmer to them with my Wink of Stella Pen...
If you want to get some inspiration or learn more about incorporating watercolor on your cards, check out the class info HERE.

I'll be back soon with another card I created with the leftover pieces from this card! Stay tuned...

Thursday, May 1, 2014

Mint and Peach Color Combo (and tutorial)...

Hello and welcome. It's the first Thursday of the month so I'm back with a new challenge from the Little Tangles Blog....
I love mint and peach together. It's such a fresh color combo. Here is the card I created...
I took some photos for a tutorial on how I created the mint and peach embossing paste. 

Here are the tools I used to create that fun background...
-Hero Arts Inks-Mint Julep and Fresh Peach
-Neenah Cardstock cut to card size
-Washi Tape to hold stencil in place
First, you need to smoosh (very technical term LOL) some mint and peach ink onto your craft mat. Scoop out a small amount of white embossing paste next to each ink color.
And start mixing! If you want it lighter, add more white embossing paste. If you want it darker, mix in more ink.
 Next smear it on top of your stencil like icing. I wanted a thin coat. It will look like this...
 Remove the stencil and you will be left with this awesome background...
 I did another extra one in mint...
(The two examples shown here were just extra backgrounds I created since I was making a mess anyway. For my final card I mixed the two colors on one background.) 

You can create your own embossing paste color with many mediums besides ink. You can add in acrylic paint, alcohol inks, ink refills, markers. Anything goes. Experiment! 

To finish off my card, I adhered my background to a grey card base and  stamped the sentiments from THIS stamp set onto some die-cut banners. I also added some of THESE yummy sequins.

I hope you can create a mint and peach masterpiece and enter it HERE. Can't wait to see what you create. The winner from this challenge will not only get a stamp set of their choice, but also a pack of mint and peach sequins. Yay! 

Thanks for stopping by. Be back soon...